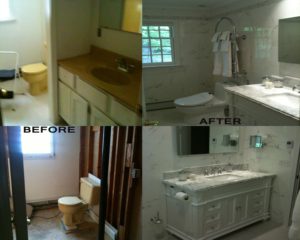
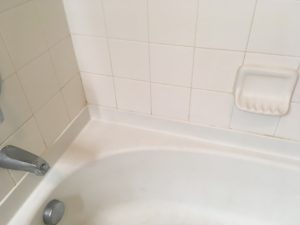
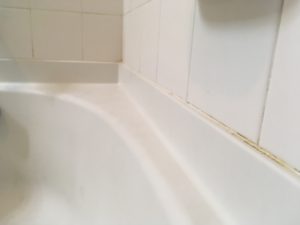
Introduction: Gaps and cracks in the caulk around your tub or shower can lead to mold growth bad smell and make the bathroom look unclean no matter how many times you clean it. It’s recommended to check and re-caulk your sink, tub or shower once a year; the most common affected and constantly wet areas are the corners and the base of freestanding showers and bathtubs.
Skill: Low Cost: Low Time: 1.5 days
Materials: Caulk softener, Rubbing alcohol, Clean rag or paper towel, Silicone or tile caulk in a squeeze tube.
Tools: Putty knife or razor blade, Vacuum.
Here’s how to re-caulk your bathroom in 5 easy steps.
- You will need to soften up the caulk, since the old caulk has to come out first to achieve better adhesion. Use a caulk softener to cover all the caulk you want to remove and let it sit for at least 2 hours, a hair dryer could help soften the hard caulk spots. Using a small putty knife start removing the caulk, the caulk needs to be removed completely to achieve a good lasting bond. Be careful and take your time.
- Clean surfaces after the caulk is removed, a towel with rubbing alcohol works great. It is also recommend to clean the affected areas with bleach to kill mold, if any.
- If you are re-caulking a tub, when done wiping off the areas with bleach or rubbing alcohol, fill up the tub with water. The logic behind that is that the tub might sit lower under the weight of the water when it is full, and if you caulk an empty tub, then fill it with water to take a bath, there’s a chance it could tear the caulk seam and your caulking job will not be waterproof.
- Use a caulking gun, the caulk or silicone should match the color of the tub, shower or tiles. Cut the nozzle at 45 degrees wide enough to fill in the seams and puncture the foil sealing the tube. To achieve a better bond and make sure the caulk gets deep in the seam, do not drag the tip of the gun but push. Dragging will allow the caulk to set on the surface, pushing the gun will allow the caulk to get pushed into the seam deeper.
- Wet your finger and run it down the caulked line/seam to achieve a nice smooth finish, you might need to do this a couple times to remove excess caulk. Wet the finger again and repeat if necessary.
Complete bathroom remodeling by Basement Finis Pros